Protecting your home with a heat alarm is one of the simplest and most effective steps you can take to improve your kitchen fire safety. Kitchens are steamy, smoky places at the best of times — even just boiling the kettle or burning the toast can send a smoke alarm into a full meltdown. That’s where heat alarms come in, cutting out the false alarms without leaving you unprotected when it actually matters.
💡
Contents
What is a heat alarm?
Where to put a heat alarm in the kitchen
What temperature does a heat alarm go off?
What does a heat alarm look like?
Why is my heat alarm beeping?
How to stop a heat alarm beeping
How to turn off a heat alarm
Are heat alarms a legal requirement?
What Is a Heat Alarm?
A heat alarm is a fire detection device that monitors temperature rather than smoke. Instead of reacting to particles in the air, it contains a thermistor that sits quietly waiting for the temperature in the room to climb above a certain threshold, or watching the rate at which it rises accelerate. When it does, the alarm sounds to warn you of a potential fire.
Think of it as the cooler-headed cousin of the smoke alarm. It won’t panic every time you burn your bagel, but it will absolutely let you know when something is genuinely wrong.
Heat alarms are particularly valuable in kitchens and garages, where smoke and fumes are a normal part of daily life. Fitted as part of a well-rounded home detection system alongside smoke alarms in hallways and living areas, they give you far better coverage overall.
Where to Put a Heat Alarm in the Kitchen
Placement really does matter here. Heat rises, so ceiling mounting is always best, ideally in the centre of the room. The general recommendation is to position your heat alarm at least 300mm away from walls and any light fittings or decorative features. Air doesn’t circulate well in corners and objects overhead can physically block heat from reaching the sensor.
If your kitchen has a sloped ceiling, measure vertically from the peak. The alarm can sit within 150mm of it, though you still want it as central as possible. Most manufacturers include clear positioning guidance in the manual, so it’s worth a quick read before you get the drill out. Alternatively, we’ve created a guide to the correct smoke alarm placement.
One thing worth knowing: heat alarms are designed for kitchens and garages specifically. Your hallways, landing, lounge and bedrooms are better served by optical smoke alarms, which are faster to detect the slow-smouldering fires most likely to happen in those rooms.
What Temperature Does a Heat Alarm Go Off?
Most heat alarms are set to trigger at 58°C. That sounds high, but normal cooking temperatures rarely push the ambient air in your kitchen above that level. The alarm is specifically calibrated to detect the kind of rapid, sustained heat rise that points to a real fire rather than enthusiastic stir-frying.
Some alarms also respond to a rapid rate of rise in temperature, so even if the absolute temperature hasn’t hit 58°C yet, a sudden dramatic spike can trigger the alarm. This dual-response approach gives you an extra layer of protection.
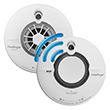
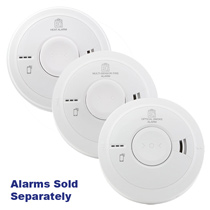
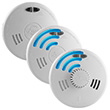
What Does a Heat Alarm Look Like?
Heat alarms are generally round, white or off-white plastic discs, quite similar in appearance to a smoke alarm. They’re designed to mount on the ceiling and sit fairly flush once fitted. You won’t notice them much day-to-day, which is kind of the point.
The main thing to look for aesthetically (and practically) is the test button on the front or side, and a small LED indicator light that confirms the alarm is powered and working. If you’re buying a radio-interlinked heat alarm, it may be slightly larger to accommodate the wireless module, but it’s still a tidy, unobtrusive piece of kit.
Why Is My Heat Alarm Beeping?
There are a few reasons a heat alarm might start chirping or beeping, and most of them are easy to fix:
Low battery: a regular short beep, usually every 30 to 60 seconds, almost always means the battery is running low. Replace it and the beeping should stop.
End of life warning: many modern alarms have a lifespan of around 10 years. When they reach the end of it, they’ll let you know with a continuous chirping pattern. At that point, replacement is the answer rather than fiddling with the battery.
Test mode: if someone pressed the test button recently, the alarm may have been triggered deliberately. Worth checking before you worry.
Actual heat detection: if the alarm is sounding continuously and urgently, treat it as a real fire warning. Get everyone out and call 999.
If you’re consistently getting unexplained beeping and the battery is fine, it could indicate a fault in the unit. Contact the manufacturer or check with Safelincs’ customer service team for guidance.
How to Stop a Heat Alarm Beeping
If it’s a low battery chirp, the fix is simple: replace the battery with the correct type (usually a 9V PP3 or AA, but check your manual). Most alarms will stop within a minute or two of a fresh battery being fitted.
For a continuous alarm sound (the kind triggered by heat detection) pressing and holding the test/hush button on the unit should silence it temporarily if it’s a false alarm. Bear in mind this is only appropriate if you are completely certain there is no fire risk. Never silence an alarm without checking the room first.
If the alarm is at end of life and chirping intermittently, the only real solution is to replace the unit entirely.
How to Turn Off a Heat Alarm
Turning off a heat alarm temporarily is usually done by pressing and holding the test/hush button for around five to ten seconds. Some models require you to remove the battery or disconnect the mains supply to fully power them down.
If you’re replacing the unit or carrying out work nearby, check the manual for the correct shutdown procedure for your specific model. For mains-powered alarms, you’ll need to switch off the power at the fuse board before disconnecting.
A quick note: turning off your heat alarm isn’t something to do casually. Even in low-risk situations, an unmonitored kitchen is statistically where fires are most likely to start. If you’re carrying out renovations or there’s a reason to disable it short-term, make sure it’s back in service as soon as possible.
💡
Are Heat Alarms a Legal Requirement?
In Scotland, the answer is a firm yes. Following the introduction of new fire safety legislation, all domestic properties in Scotland are now legally required to have a heat alarm fitted in the kitchen. These must also be interlinked with smoke alarms elsewhere in the property.
For the rest of the UK, the requirements vary depending on the type of property and any building regulations that applied when work was carried out. If heat alarms were fitted when you moved in, or if they’ve been specified as part of an extension or renovation, you’re obliged to keep them working.
For rental properties in England and Wales, landlords have a duty to ensure adequate fire detection is in place. While heat alarms in kitchens may not be explicitly mandated everywhere, they represent clear best practice and are widely recommended by fire services.
Protecting your home with a heat alarm in the kitchen works best as part of a complete home fire detection system. Pairing it with optical smoke alarms in hallways and sleeping areas gives you the best possible chance of detecting a fire early, wherever it starts. Think of it like a neighbourhood watch: each alarm is responsible for its own area, but they all work together to keep the whole home protected.
Safelincs offers a full range of interlinked smoke and heat alarm systems designed specifically for UK homes, with free expert advice if you’re not sure which setup suits your property. If you have any questions, please get in touch with our friendly team.
All information correct at time of publication. For the latest legal
A continuous alarm may mean smoke, dust, dirt, damage or an alarm that’s passed its 10 year lifespan.
Intermittent beeping or chirping usually signals a low battery, and this is more common at night when temperatures drop.
Mains powered smoke alarms have backup batteries that can chirp when they run low.
You should replace smoke alarms every 10 years because the sensors deteriorate over time.
Placing your alarm in the wrong spot (near kitchens, bathrooms or draughty areas) can trigger false alarms.
We offer replacement options for discontinued models, often without needing an electrician.
Is your smoke alarm beeping in the night and keeping you awake? Or perhaps it’s disturbing your day? Whether you’ve got mains powered interlinked smoke alarms or battery powered ones, follow our guidance below to troubleshoot the beeping and get some peace back.
What Type of Sound Is Your Smoke Alarm Making?
Before you start troubleshooting, work out what type of sound your smoke alarm is making. This’ll help you pinpoint the cause and find the right fix.
Note: Beep patterns vary by manufacturer and model. Always check your alarm’s user manual for the specific meanings of different sounds.
Sound Type
Pattern
Likely Cause
Urgency
Continuous loud alarm
Non-stop sounding
Smoke or fire detected, dust or fault
High: check for fire straight away
Intermittent chirping
Single beep every 30 to 60 seconds
Low battery
Medium: replace battery soon
Rapid beeping
Multiple quick beeps
End of life warning or malfunction
Medium: replace alarm
Sound Type
Continuous loud alarm
Pattern
Non-stop sounding
Likely Cause
Smoke or fire detected, dust or fault
Urgency
High: check for fire straight away
Sound Type
Intermittent chirping
Pattern
Single beep every 30 to 60 seconds
Likely Cause
Low battery
Urgency
Medium: replace battery soon
Sound Type
Rapid beeping
Pattern
Multiple quick beeps
Likely Cause
End of life warning or malfunction
Urgency
Medium: replace alarm
Why Is My Smoke Alarm Sounding Continuously?
A smoke alarm that won’t stop sounding needs your attention straight away. Follow these steps to work out what’s going on.
First, check there’s no smoke or fire in your property.
If there’s no fire, look into these common causes:
Could it be another alarm? Make sure the beeping is definitely coming from your smoke alarm. Other alarms in your home, such as a carbon monoxide alarm or burglar alarm, could be making the noise.
Is dust or dirt setting it off? Give the alarm a clean if it’s dusty or dirty. Vacuum around the alarm or use a hairdryer on a cool setting to blow out any dust from the sensor chamber.
Has your smoke alarm reached its expiry date? Check the “replace by” or manufacture date on the back of your alarm. Smoke alarms last a maximum of 10 years. If the manufacturing date is approaching or past 10 years, it’s time for a new one. The sensors inside deteriorate after this point, making the alarm less effective at detecting fires.
Is your alarm in the wrong spot? Different sensor types work best in different locations. An optical smoke alarm in a kitchen, for example, may go off from cooking fumes.
Could the alarm be damaged or faulty? Water, fire, grease and certain paints can all cause faults. If you think there’s damage, replace your smoke alarm straight away to keep your home and family safe.
Why Is My Battery Smoke Alarm Chirping Intermittently?
An intermittent chirp or beep (typically once every 30 to 60 seconds) almost always means a low battery. Here’s what to do.
Replace the battery. Make sure you’re using the right battery type and inserting it the right way round. A low battery is more likely to sound at night because a drop in room temperature reduces its ability to power the alarm.
Check how old your alarm is. Smoke alarms last a maximum of 10 years. If the manufacturing date on yours is approaching or past 10 years, it’s time for a replacement. Even with a fresh battery, an old alarm may chirp because the sensors are wearing out.
Look for signs of damage. Water, fire, grease and certain paints can cause faults. If you suspect a problem, replace your smoke alarm straight away.
Smoke Alarm Battery Types and Lifespan
Battery Type
Typical Lifespan
When To Replace
Alkaline 9V (PP3)
12 to 18 months
We recommend annually, or every 6 months for maximum safety
Alkaline AA
12 to 18 months
We recommend annually
Lithium 9V
Up to 5 years
When it starts chirping
Sealed lithium (10 year)
10 years
Replace the entire alarm
Battery Type
Alkaline 9V (PP3)
Typical Lifespan
12 to 18 months
When To Replace
We recommend annually, or every 6 months for maximum safety
Why Is My Mains Powered Smoke Alarm Chirping Intermittently?
All new or recently extended homes should have mains powered interlinked alarms fitted. These also contain a backup battery to keep you protected during power cuts. Some makes/models contain replaceable batteries, whereas some have sealed batteries which cannot be replaced. Please check your user manual for more information.
The most common cause of chirping in mains powered alarms is a low backup battery.
Even though your alarm connects to the mains electricity, you’ll still need to replace the backup battery from time to time. Here’s how to stop the chirping:
Locate the battery compartment (usually by twisting the alarm off its base)
Replace the backup battery with the correct type for your alarm
Press the test button to check it’s working
If your alarm keeps chirping after you’ve replaced the backup battery, it may have reached the end of its 10 year lifespan and need replacing altogether.
What Replacement Batteries Do Smoke Alarms Need?
Smoke alarms typically need one of these battery types:
Alkaline AA batteries (usually two)
Alkaline 9V battery (PP3)
Lithium 9V battery (lasts longer)
Check the label on your smoke alarm or look in the user manual to confirm the right type. Using the wrong battery can cause problems or void your warranty.
How Do I Replace a Mains Powered Smoke Alarm?
You should replace smoke alarms after 10 years, whether they’re mains powered or battery powered. The sensors deteriorate over time. Battery alarms are easy to swap out, but what about mains powered ones?
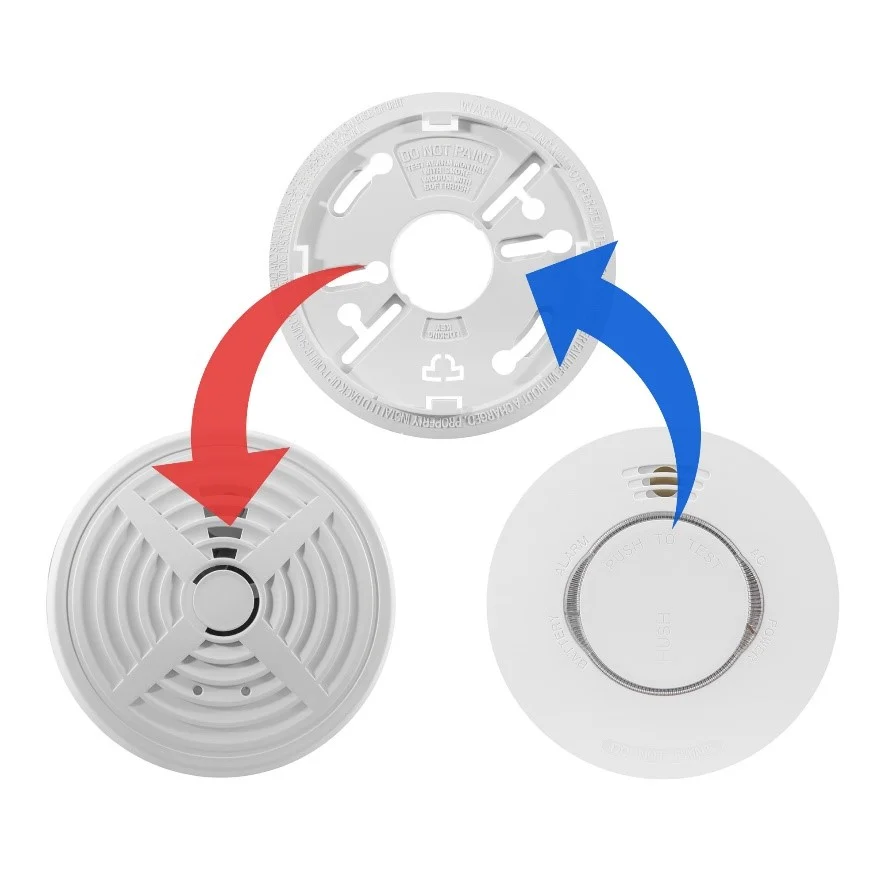
Good news: you can replace most mains powered alarms without calling an electrician if you buy the exact same model (if it’s still available) or an Easichange® replacement.
What If My Smoke Alarm Model Has Been Discontinued?
Need a replacement but can’t find your model anymore? We offer a dedicated collection of replacement smoke and heat alarms. We’ve chosen these specifically to be the simplest, most direct replacements, and you can often fit them without needing an electrician.
How Can I Prevent False Alarms?
The sensor type in your alarm determines where you should put it. False alarms often happen because the wrong alarm type is too close to a steamy, dusty or smoky area.
Where Should Different Smoke Alarm Types Go?
Alarm Type
Best Locations
Keep Away From
Heat alarms
Kitchens, garages, dusty workshops
Bedrooms, hallways (use smoke alarms there instead)
Optical smoke alarms
Bedrooms, living rooms, hallways
Kitchens, bathrooms, garages
Ionisation smoke alarms (discontinued)
Landings, hallways
Areas near kitchens or bathrooms
Alarm Type
Heat alarms
Best Locations
Kitchens, garages, dusty workshops
Keep Away From
Bedrooms, hallways (use smoke alarms there instead)
Alarm Type
Optical smoke alarms
Best Locations
Bedrooms, living rooms, hallways
Keep Away From
Kitchens, bathrooms, garages
Alarm Type
Ionisation smoke alarms (discontinued)
Best Locations
Landings, hallways
Keep Away From
Areas near kitchens or bathrooms
Spots to Avoid When Fitting Smoke Alarms
To prevent false alarms or poor performance, don’t fit alarms in these spots:
Next to doors, windows, air vents or fans that create a draught
Outside or in unheated spaces
Anywhere curtains or furniture would block the airflow
Steamy or humid rooms like shower rooms
In kitchens (use a heat alarm instead of a smoke alarm)
Clean the alarm, check its position or replace it if it’s over 10 years old
Intermittent chirping (battery alarm)
Replace the battery straight away
Intermittent chirping (mains alarm)
Replace the backup battery – if your unit has a replaceable battery inside.
Alarm over 10 years old
Replace the whole unit
Frequent false alarms
Check where it’s positioned and consider a different alarm type
Discontinued alarm needs replacing
Use an Easichange® or compatible replacement
Problem
Continuous alarm with no fire
What To Do
Clean the alarm, check its position or replace it if it’s over 10 years old
Problem
Intermittent chirping (battery alarm)
What To Do
Replace the battery straight away
Problem
Intermittent chirping (mains alarm)
What To Do
Replace the backup battery – if your unit has a replaceable battery inside.
Problem
Alarm over 10 years old
What To Do
Replace the whole unit
Problem
Frequent false alarms
What To Do
Check where it’s positioned and consider a different alarm type
Problem
Discontinued alarm needs replacing
What To Do
Use an Easichange® or compatible replacement
Don’t wait to change or replace a faulty smoke alarm. It’s one of the most important things you can do to keep your home and family safe. If you need any help, call our customer service team on 0800 612 6537 or email us.
With over 20 years of experience in content writing, design and marketing, Mel now heads up the Content & Marketing Team at Safelincs. Having been in the fire safety industry for over 5 years, Mel has now developed a deep understanding of some of the critical issues facing the industry. Alongside her team, she aims to support the public with resources and information to help them improve fire safety at home, in the workplace or in 3rd sector organisations.
Chip pan fires remain one of the most dangerous kitchen hazards in the UK, causing around 1,200 incidents annually and resulting in thousands of injuries.
Overheated oil, combined with common mistakes like adding water or wet chips, creates explosive conditions that can engulf a kitchen in seconds.
Most chip pan fires happen between 10pm and 4am, often involving alcohol, unattended cooking and overfilled pans.
Never throw water on a chip pan fire, as it can cause a violent fireball that spreads rapidly throughout your kitchen.
Thermostat-controlled deep fat fryers and oven chips offer much safer alternatives to traditional chip pans, eliminating the risk of oil overheating.
If a chip pan fire breaks out, your priority is getting everyone out safely and calling 999 rather than attempting to fight the fire yourself.
That golden basket of crispy chips might be a British staple. But the traditional chip pan remains one of the most dangerous items in UK homes.
Chip pan fires continue to cause serious injuries and property damage across the country, despite decades of fire safety campaigns.
Why are chip pans so risky? What causes these fires? And most importantly, how can you protect yourself and your family?
Why Chip Pan Fires Are So Dangerous
Chip pan fires aren’t your average kitchen mishap.
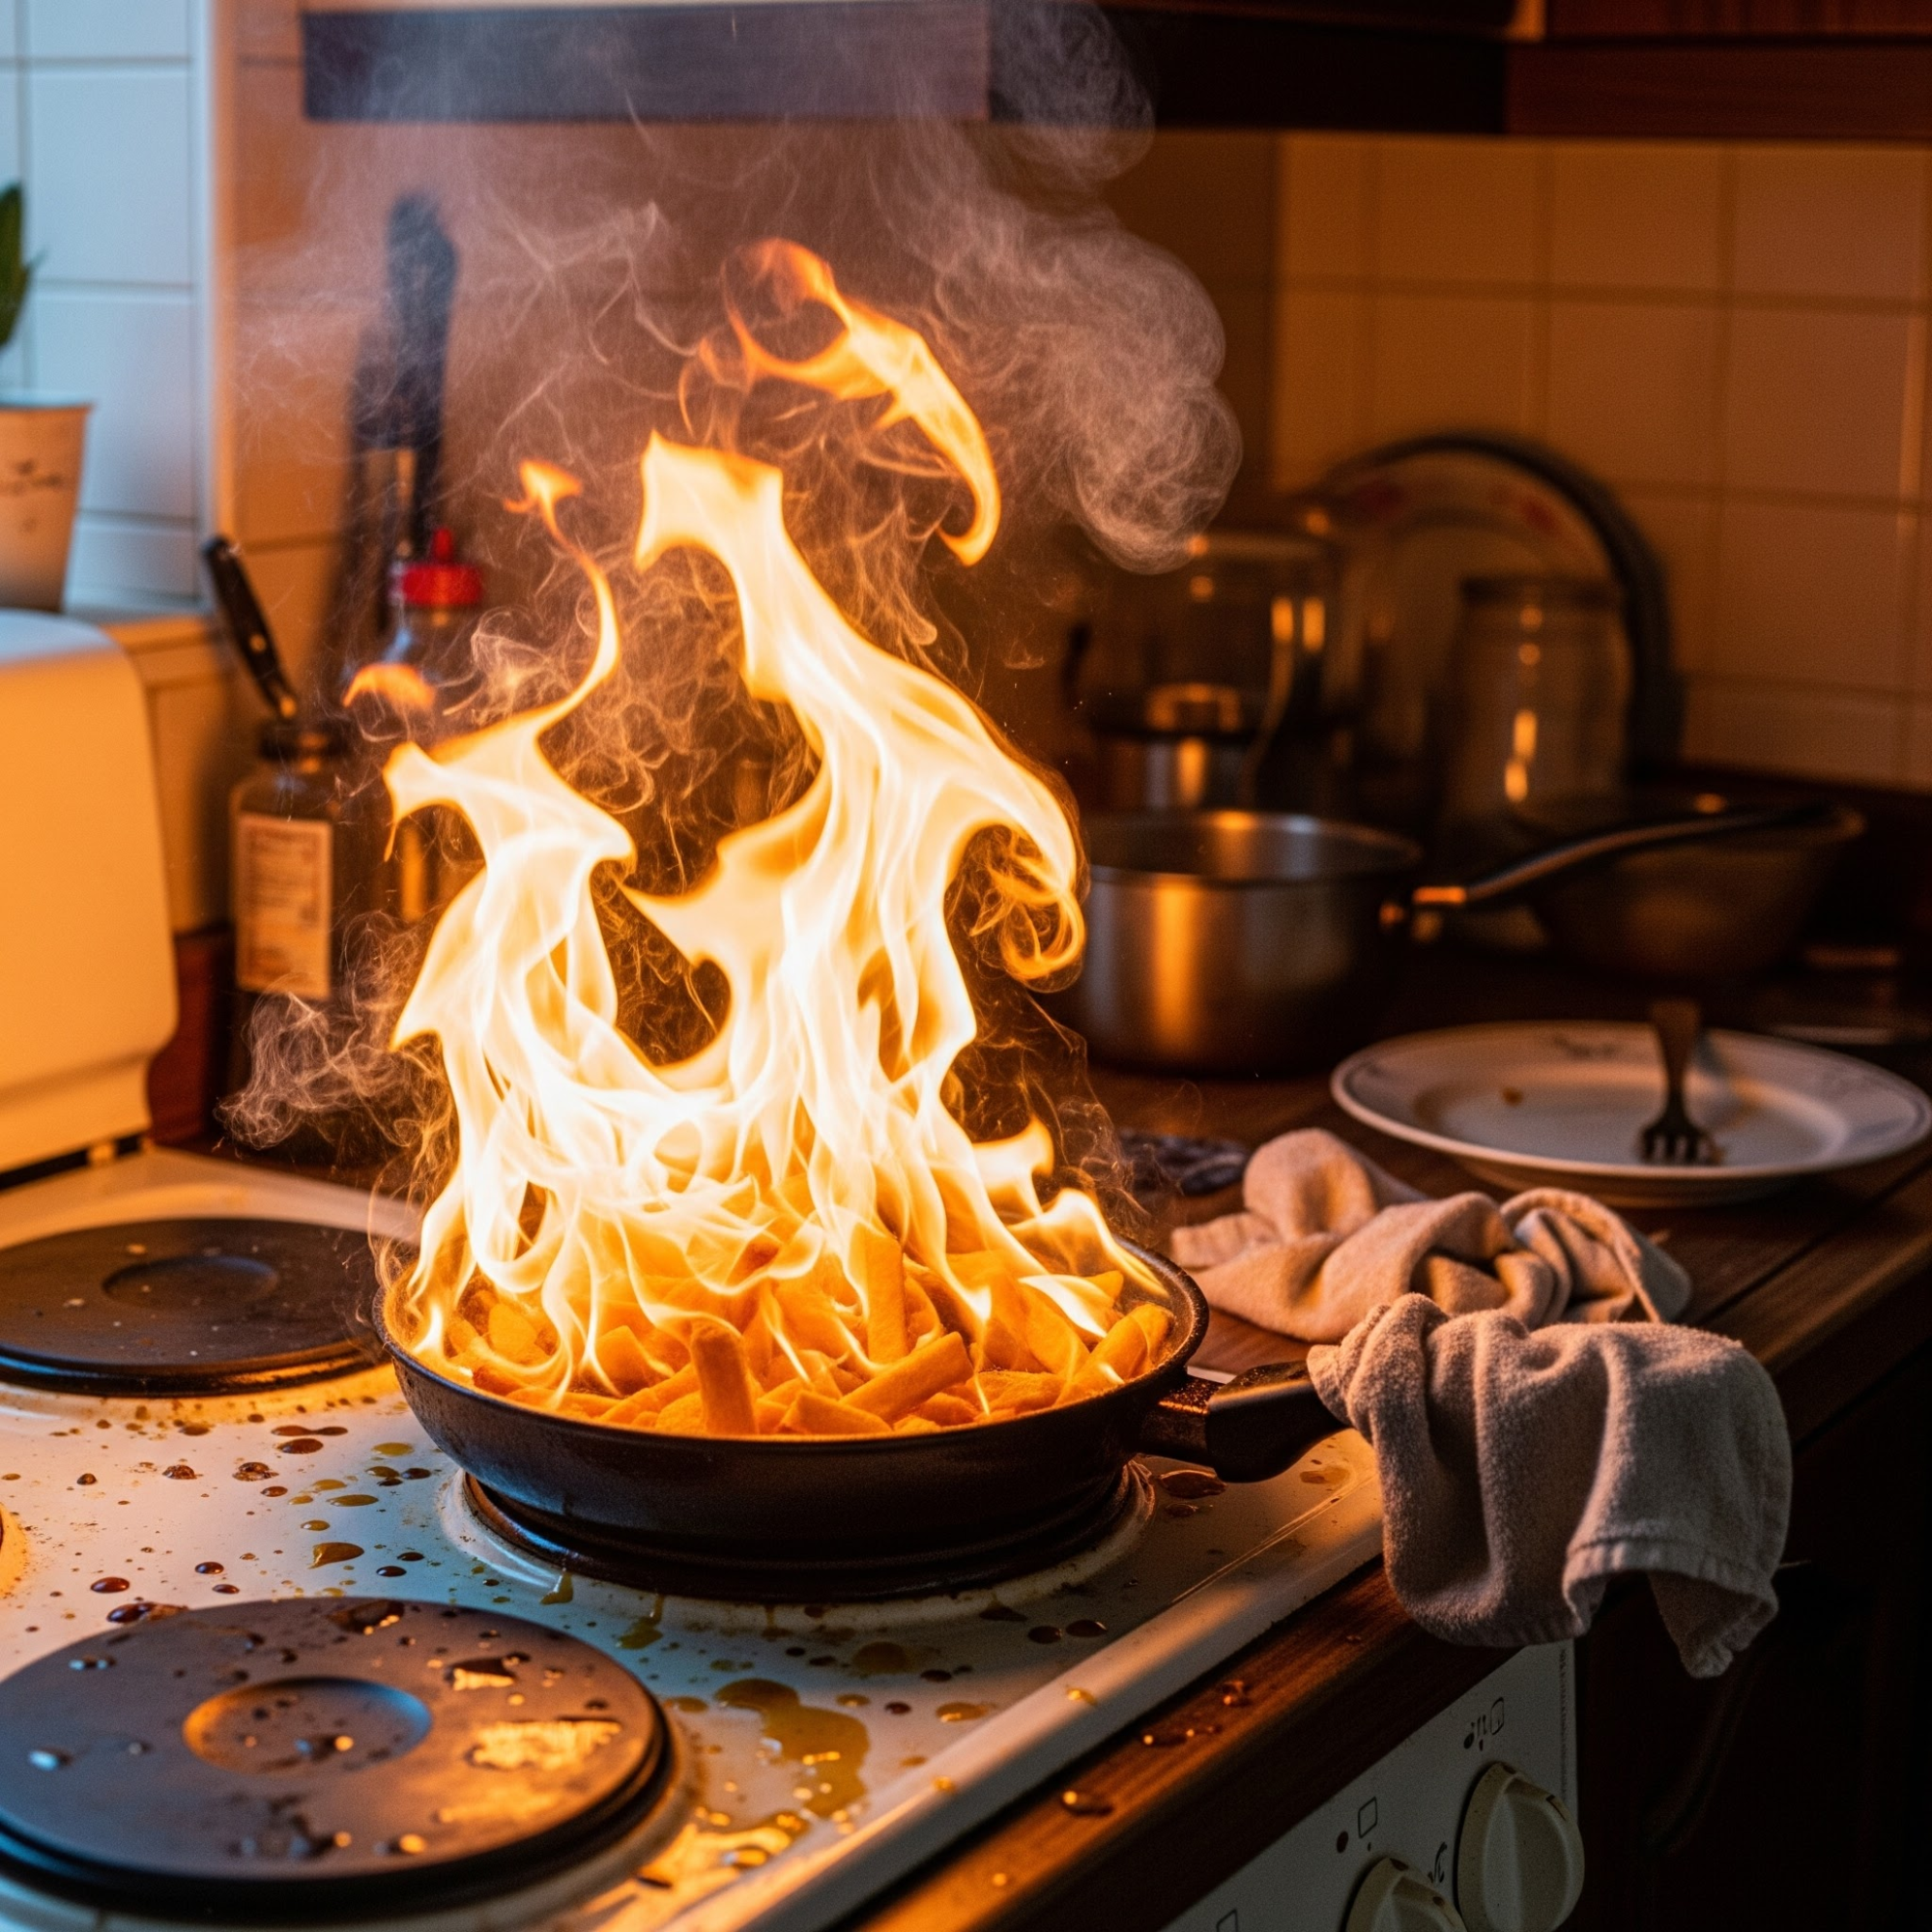
What makes chip pan fires particularly frightening is how quickly they develop and how intensely they burn. You’re heating several pints of oil to temperatures between 160°C and 190°C. At these temperatures, cooking oil becomes ideal fuel. Once it ignites, it burns hot and spreads fast.
The real danger comes from how people react. Your instinct might be to throw water on the flames or move the pan to the sink. Both actions create explosive results.
Water and burning oil don’t mix. They explode. The water vaporises instantly when it hits the superheated oil, expanding to roughly 1,700 times its original volume. This explosive expansion sends a fireball of burning oil shooting upwards and outwards. You could suffer severe burns. Kitchen cabinets, curtains and anything else nearby can catch fire within seconds.
Common Causes of Chip Pan Fires in UK Homes
Understanding what triggers chip pan fires helps you avoid the pitfalls. Here’s what causes most incidents:
Overheated oil is the number one cause. When oil reaches its smoke point (around 230°C for most cooking oils), it’s dangerously close to its flash point: the temperature at which it ignites on its own. See smoke rising from your pan? It’s already too hot. You’re moments away from a fire.
Leaving the pan unattended leads to a large number of incidents. You pop the chips in. The phone rings. The doorbell goes. You nip to the loo, just for a minute. That’s all it takes. Fire brigades across the UK report that most chip pan fires are caused by unattended cooking.
Alcohol and late-night cooking create a dangerous mix.
Overfilling the pan is another common mistake. When you drop chips into an overfilled pan, the oil can overflow onto the hot hob and ignite immediately. The safe rule? Never fill a chip pan more than one-third full.
Adding wet or frozen chips to hot oil can cause violent splattering and cause the oil to overflow. Ice crystals on frozen chips vaporise instantly, causing the oil to bubble up. Always dry chips thoroughly before frying.
How to Prevent Chip Pan Fires
You can dramatically reduce your risk. Here’s how:
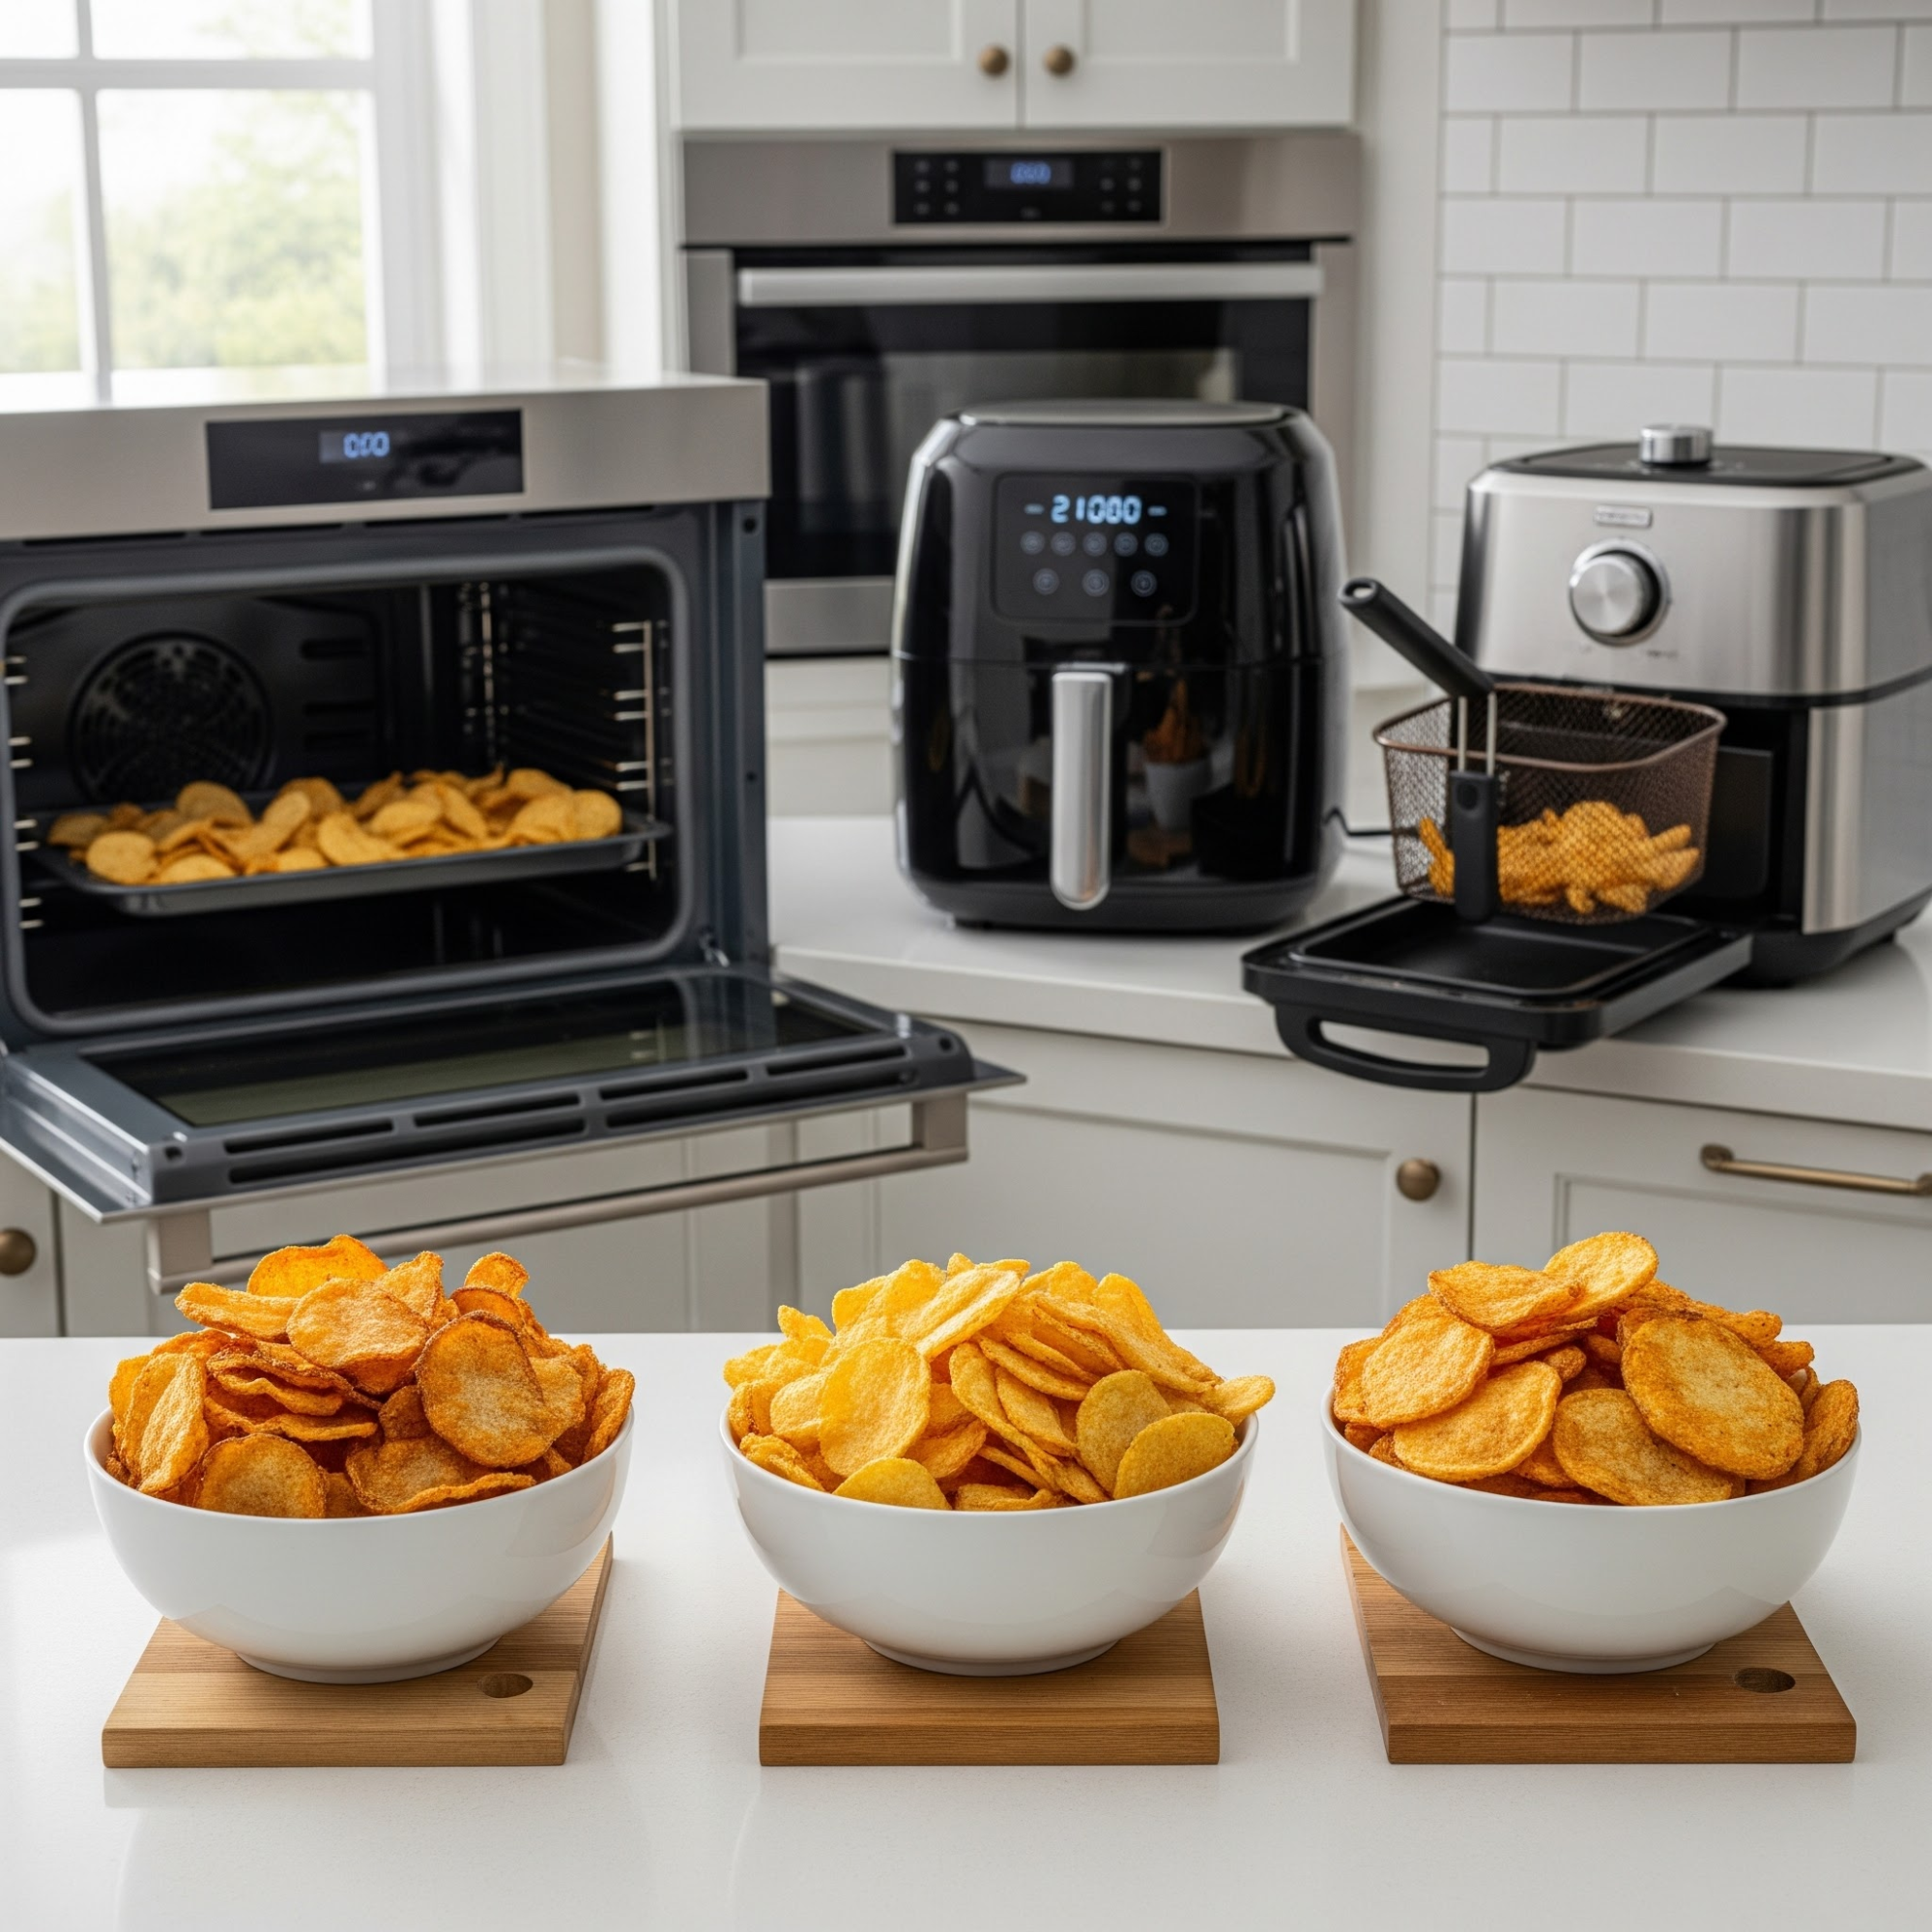
✓ Ditch the chip pan. This is what every fire brigade in the UK advises. Oven chips offer a safer alternative with no hot oil involved. Air fryers have also changed home cooking, giving you crispy chips without the fire risks of deep-fat frying.
✓ If you’re determined to deep-fry at home, invest in a thermostat-controlled electric deep-fat fryer. These devices have built-in safety features that prevent the oil from ever reaching dangerous temperatures. The thermostat automatically regulates heat, eliminating the risk of overheating that can cause chip pan fires. Some local fire and rescue services even offer free fryer exchanges, swapping your old chip pan for a modern electric fryer.
✓Never leave cooking unattended. Have to leave the kitchen, even for a moment? Turn off the heat and remove the pan from the hob. Don’t tell yourself it’ll be fine for “just a second”. Fires start when your attention stops.
✓Keep the pan only one-third full of oil. This gives you a safety buffer when you add food, preventing overflow and reducing the risk of flames.
✓Dry your chips before adding them to hot oil. Pat them with kitchen paper to remove excess moisture. Make sure frozen chips are defrosted.
✓Never cook after drinking alcohol or when tired. Your reactions are slower. Your judgment is impaired. You’re more likely to fall asleep or forget about the pan. Hungry after a night out? Make a sandwich or order a takeaway instead.
✓Test the oil temperature before adding food. Drop in a small piece of bread or a single chip. Does it crisp and brown within 60 seconds? The oil is ready. It doesn’t bubble at all? The oil needs to be heated more. It burns black instantly? The oil is too hot. Turn off the heat and let it cool.
For more information on managing cooking oil fires, including other oil-related fire hazards in your kitchen, check out our detailed guide.
What to Do If a Chip Pan Fire Starts
Fires can still happen despite your best efforts. Knowing the correct response could save your life and your home.
❌ Never, ever throw water on a chip pan fire. We can’t emphasise this enough. Water creates an explosive fireball that will spread the fire and cause severe burns. Every fire brigade in the country warns against this. Yet it remains the most common dangerous response.
❌ Don’t move the pan. The handle will be hot. The pan is heavy. Moving it risks spilling burning oil on yourself or spreading the fire. Leave it where it is.
❌ Turn off the heat if you can reach the controls safely. But only if you can do this without leaning over the flames. For electric hobs, you can switch off the electricity at the mains. For gas hobs, you may need to turn off the gas supply if it’s accessible. Can’t reach the controls safely? Leave them alone.
❌ Don’t attempt to tackle the fire yourself. Old advice about using damp tea towels or fire blankets is now considered too risky by fire services. The risk of severe burns is too high. Even experienced firefighters struggle to extinguish oil fires safely.
❌ Get everyone out immediately. Leave the room. Close the door behind you to contain the fire and limit the amount of oxygen. Evacuate everyone from the property. Call 999 from outside or a neighbour’s house. Never go back inside.
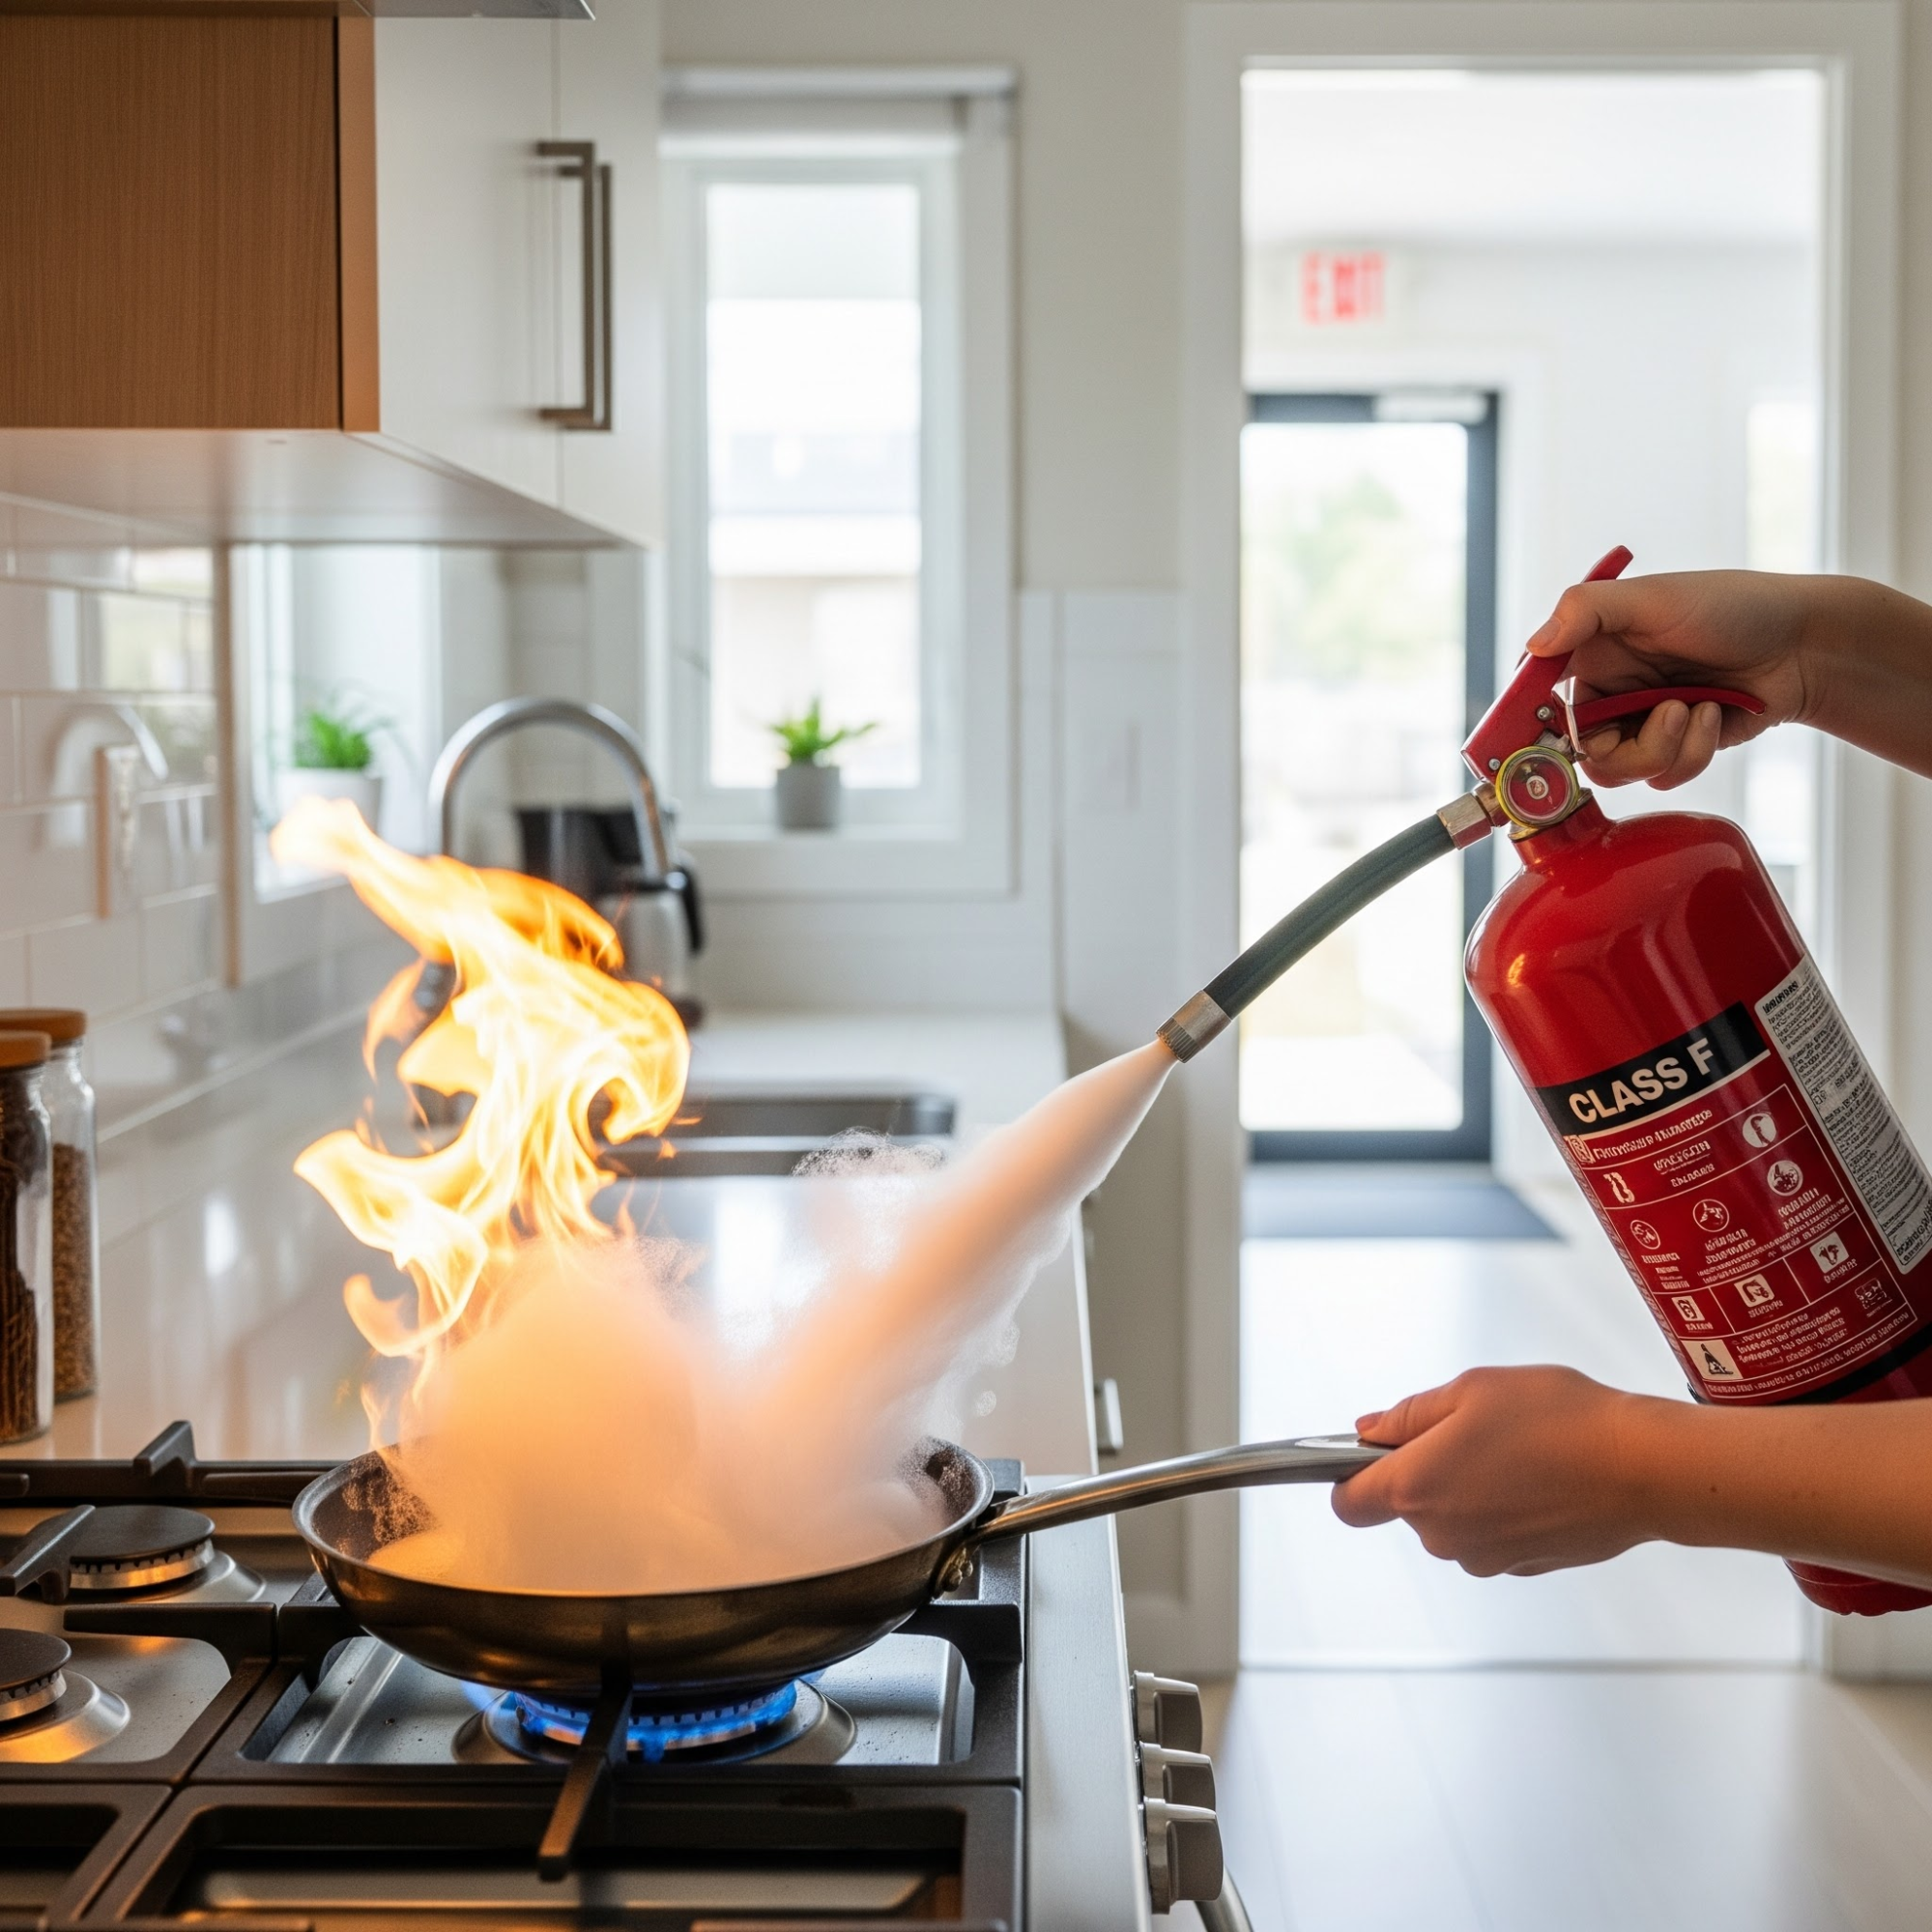
❌ Do you have a Class F fire extinguisher designed for cooking oil fires? Have you been trained to use it? Consider using it, but only if the fire is small and contained to the pan and you have a clear exit route. Class F extinguishers contain a potassium-based solution that reacts with the oil to create a soapy layer, smothering the flames. Never use water, foam, powder or CO2 extinguishers on oil fires. These can spread the fire or cause explosions.
Safer Alternatives to Traditional Chip Pans
Modern cooking technology offers much safer ways to enjoy chips at home.
✓ Oven chips are the simplest solution. Today’s oven chips taste good, cook in about 20 minutes, and pose no fire risk. They’re also healthier, using far less oil than deep-fried alternatives.
✓ Air fryers have become popular for good reason. They circulate hot air to create crispy chips. There’s no vat of hot oil, no risk of overheating and modern air fryers have automatic shut-off features.
✓ Thermostat-controlled electric deep-fat fryers offer a safer middle ground if you want that authentic deep-fried taste. The built-in thermostat prevents the oil from reaching dangerous temperatures. Many models feature cool-touch exteriors, automatic shut-offs and secure lids that contain any oil splatter.
✓Professional chip shops remain an option. Let the experts handle the hot oil, and you can enjoy chips without any of the home fire risks.
Essential Fire Safety Equipment for Your Kitchen
Beyond avoiding chip pan fires, every UK kitchen needs proper fire safety equipment.
Smoke alarms should be fitted on every level of your home, including near the kitchen (but not in it, as cooking steam causes false alarms). Test your alarms monthly and replace batteries annually. Interconnected alarms throughout your home ensure everyone hears the warning, no matter where the fire starts.
A Class F fire extinguisher is designed for kitchen fires involving cooking oils and fats. If you choose to keep one, make sure everyone in your household knows where it is and how to use it. You can learn more about the proper use of fire extinguishers through our product demonstration videos.
A fire blanket was once recommended for chip pan fires. But fire services now advise against using them on deep-fat fires due to the risk of burns and the blanket slipping off. However, they remain helpful in smothering other small fires and wrapping around someone whose clothes have caught fire.
Regular fire risk assessments ensure your home’s fire safety measures are adequate. Whether you’re a homeowner, landlord or business owner, understanding your specific fire risks helps you put in place appropriate safety measures.
Take Action to Protect Your Home
Chip pan fires remain preventable. The statistics tell a sobering story: thousands of injuries, dozens of deaths and countless homes damaged each year, all from a cooking method that has safer alternatives readily available.
Ready to improve your kitchen fire safety? We offer everything you need, from Class F fire extinguishers designed for cooking oil fires to smoke alarms that provide early warning. Our experts can also conduct a fire risk assessment of your property, identify potential hazards, and recommend appropriate safety measures tailored to your home.
Don’t wait for a close call to take fire safety seriously. Explore our range of kitchen fire safety equipment today, or contact our team for advice on protecting your home and family from chip pan fire risks.
“Easy to use website. I found the ideal produce to replace my smoke alarm sytem quickly and easily. Update to a modern version of my old system. Good price, fast delivery, easy to fit. Fixed to the original interlinked wiring in place. Very tidy, modern looking system. Would shop here again.”
Ian Beevers
★★★★★
“Great business to deal with. Good information about different fire extinguisher types etc. on websites and delivered the next day. Would certainy use again.”
HMOs are typically large houses that have been converted into flats or bedsits, such as student housing. ‘Houses in multiple occupation’ are defined by gov.uk as follows:
Your home is a house in multiple occupation (HMO) if both of the following apply:
at least 3 tenants live there, forming more than 1 household
you share toilet, bathroom or kitchen facilities with other tenants
It is important to note that the requirements for sheltered housing, such as supported living facilities, and self-catered rentals, such as holiday cottages are different, and not covered in this blog.
Shared kitchen spaces are a fire risk in HMOs
What grade of smoke alarm system is required for HMOs?
Within most HMOs, there are several acceptable options available for compliance with the Standard, depending on its size and configuration.
The first option is to have Grade A fire alarm system installed throughout the building. This type of system consists of a conventional or addressable fire alarm panel, and then fire alarm detectors, call points, sounders and beacons are specified according to the layout and requirements of the property and manufactured to BS EN 54. It also requires a power supply to BS EN 54-4, and installation to BS 5839 Part 1.
However, in most cases, this level of coverage is not a requirement. In some small HMOs, for example, it may be acceptable to install a Grade D1 system. This is defined as a system incorporating one or more interlinked mains-powered smoke alarms (and heat alarms if required), each with an integral stand-by supply. They can be hardwire-interlinked or radio-interlinked, meaning that fire alarm panels are not required. The stand-by supply must be tamper-proof and last the full life of the alarm.
The final option, suitable for many medium and even large HMOs, is a mixed system. This involves the installation of Grade A components in communal areas, and any other high-risk areas identified by the risk assessment. Elsewhere in the premises, a separate Grade D1 system can be installed. This has become the preference, as it is likely to reduce the impact of nuisance alarms from individual flats on other occupants.
Ei Electronics and Kidde offer both RF and wired mains powered alarm systems as well as a range of accessories that can help you to test, locate and hush alarms easily. For more guidance about the alarm grade system, visit our help guide.
The coverage within the building by the detection system is divided into three distinct categories. These are described with the following codes:
LD1 (highest level of coverage): Covers all circulation spaces that form part of escape routes plus all rooms in which a fire could start
LD2 (middle level of coverage): Covers all circulation spaces that form part of escape routes plus all rooms and areas that present a high fire risk to occupants
LD3 (lowest level of coverage): Covers circulation spaces that form part of the escape routes
Any room which a building user must pass through, from another, in order to exit the premises would need detectors installed to satisfy these Categories. For example, if all rooms in a bungalow open onto a hallway which leads outside, only the hallway is considered a circulation space forming part of the escape route; if the only exit from the kitchen is into the dining room which then opens onto a hallway, the dining room would also need a detector under LD3 minimum protection as it is part of the escape route.
What category of fire detection is required within my HMO?
Different levels of coverage are needed in different areas of the building due to the risk of fire. This includes different Grades of fire detection system, as well as different configurations of components. For example, communal areas in HMOs are required to have Grade A systems, as they have particularly high levels of risk. This is due to the shared, and therefore often neglected responsibility for safety and housekeeping in HMOs. Moreover, the exact installation requirements within your HMO will depend upon the configuration and size of the premises. For more advice for landlords about fire safety in HMO’s, visit our help guide.
Responsibility for housekeeping can be neglected in HMOs. This is a fire risk,
Minimum levels of requirements for fire detection systems in HMOs:
The following is general guidance on the minimum levels of installation required in different scenarios.
One or two storey HMOs, where the area of each floor is less than 200sqm:
A Grade D1, category LD1 configuration should be installed in a new, or materially altered HMO. In an existing premises of this size, category LD2 is acceptable if it is already installed, but an LD3 system must be upgraded to comply with the Standard.
Areas within HMOs with more than 3 floors, or where the area of at least one floor is greater than 200sqm
Individual, one-room dwellings, with or without cooking facilities:
A Grade D1, category LD1 configuration should be installed. This is required in a new and existing HMO premises.
Individual dwellings comprising two or more rooms:
A Grade D1, category LD2 configuration should be installed. This is required in a new and existing HMO premises.
Communal areas
A Grade A, category LD2 configuration should be installed. This is required in a new and existing HMO premises.
Suitable Fire Detection Systems in HMOs
Always ensure that a comprehensive fire risk assessment has been carried out in your property by a competent person, to determine the risks specific to your premises. This is essential to protect the occupants, particularly as many tenants of HMOs are young and / or vulnerable renters. The Responsible Person for the building may be prosecuted if they cannot demonstrate that they have made every reasonable effort to comply with fire safety requirements enforced by their local council, particularly if a fire breaks out. Compliance with the Standards is the best way to ensure that this compliance can be achieved and evidenced.
HMO fire alarm requirements vary depending on the size and configuration of your property. For one or two-storey HMOs with floor areas less than 200sqm, you’ll need at minimum a Grade D1, category LD1 system for new or materially altered properties. This includes interlinked mains-powered smoke alarms with integral stand-by supplies. Existing properties of this size may maintain a category LD2 system if already installed, but any LD3 systems must be upgraded. For larger HMOs with more than 3 floors or floors exceeding 200sqm, communal areas require Grade A, category LD2 systems. Your specific HMO fire alarm requirements will be determined by a comprehensive fire risk assessment.
What are the HMO fire alarm testing requirements?
HMO fire alarm testing requirements state that all fire detection systems must be regularly checked to ensure proper functioning. As a landlord or property manager, you must ensure your HMO fire alarm testing requirements are met by conducting regular checks of all detection devices. Each alarm should be tested according to manufacturer guidelines, typically by pressing the test button to confirm the alarm sounds correctly. You must maintain a testing log that records dates, results and any issues identified. This documentation is crucial for demonstrating compliance with HMO fire alarm testing requirements during inspections by local authorities.
What are the HMO fire alarm system requirements?
HMO fire alarm system requirements specify that properties must have appropriate detection systems based on size and layout. For most HMOs, you have several options to meet the HMO fire alarm system requirements. You can install a Grade A system throughout (connected to a central panel), a Grade D1 system (interlinked mains-powered alarms with backup), or a mixed system with Grade A in communal/high-risk areas and Grade D1 elsewhere. Your HMO fire alarm system requirements will also include specific detection categories: LD1 (all circulation spaces and rooms), LD2 (circulation spaces and high-risk areas), or LD3 (circulation spaces only). The appropriate level depends on your property’s specific characteristics.
What are the three storey HMO fire alarm requirements?
Three storey HMO fire alarm requirements typically necessitate a more comprehensive detection system due to increased evacuation challenges. If your three storey HMO has floor areas exceeding 200sqm, communal areas must have a Grade A, category LD2 system with a central control panel. Individual dwellings within your three storey HMO should have Grade D1 systems – category LD1 for single-room dwellings and category LD2 for multi-room dwellings. These three storey HMO fire alarm requirements aim to provide early warning throughout the property, particularly in escape routes and high-risk areas like kitchens, where fires commonly start in shared accommodations.
What are the HMO fire detection requirements?
HMO fire detection requirements specify the type, grade and category of detection systems needed in your property. Your HMO fire detection requirements will vary based on your property’s size and configuration. For smaller HMOs (one or two storeys under 200sqm), a Grade D1 system with LD1 or LD2 coverage is typically required. For larger properties, communal areas need Grade A systems with LD2 coverage. The HMO fire detection requirements also specify that all escape routes must be covered by appropriate detection devices. Different types of detectors (smoke, heat or combined) may be needed in different areas based on the specific fire risks identified during your assessment.
What are the HMO smoke alarm requirements?
HMO smoke alarm requirements mandate that appropriate detection devices be installed throughout your property. Your HMO smoke alarm requirements will include using interlinked alarms, ensuring that when one detector is triggered, all alarms sound throughout the property. For most HMOs, mains-powered smoke alarms with battery backup (Grade D1) are required in escape routes and risk areas. The HMO smoke alarm requirements also specify that different detector types should be used in different locations – for example, heat detectors rather than smoke alarms in kitchens to reduce false alarms. All devices must comply with relevant standards, including BS EN 54 for manufactured components and BS 5839 Part 1 for installation.
What are the 2 storey HMO fire alarm requirements?
Two storey HMO fire alarm requirements typically specify a Grade D1, category LD1 system for new or altered properties. This means your 2 storey HMO fire alarm requirements include installing interlinked, mains-powered smoke alarms with integral stand-by power supplies throughout circulation spaces and all rooms where a fire could start. For existing 2-storey HMOs with floor areas less than 200sqm, a category LD2 system may be acceptable if already installed. Your 2 storey HMO fire alarm requirements aim to ensure all occupants receive early warning of fire, particularly important in shared accommodations where responsibility for fire safety can be fragmented.
What is the HMO fire alarm system cost?
HMO fire alarm system cost varies depending on the size of your property and the grade of system required. For a smaller HMO requiring a Grade D1 system, your HMO fire alarm system cost might start from approximately £300-£600 for the basic components, including interlinked mains-powered smoke alarms with battery backup. For larger properties requiring Grade A systems with control panels, your HMO fire alarm system cost could range from £1,000 to several thousand pounds. Additional factors affecting your HMO fire alarm system cost include installation, which should be carried out by qualified professionals, and ongoing maintenance expenses. While this represents a significant investment, it’s essential for legal compliance and tenant safety.
What is the HMO fire alarm testing frequency?
Your HMO fire alarm testing frequency should include weekly tests of the system by pressing the test button on at least one detector (on a rotational basis). Monthly checks should examine the control panel (if installed) for fault indicators. Your HMO fire alarm testing frequency should also include bi-annual professional servicing by qualified technicians, who will conduct more thorough examinations of all components. This HMO fire alarm testing frequency ensures continuous protection for tenants and helps identify issues before they compromise safety.
Are HMO smoke alarms in bedrooms required?
HMO smoke alarms in bedrooms are typically required as part of a comprehensive fire detection system. You should install smoke alarms in HMO bedrooms because these areas contain potential fire hazards, such as electrical equipment and are occupied during sleeping hours when occupants are most vulnerable. The HMO smoke alarms in bedrooms should be interlinked with all other alarms in the property, ensuring that a fire detected in any location will trigger all alarms. For grade D1 systems, these HMO smoke alarms in bedrooms should be mains-powered with battery backup. This requirement is particularly important in buildings with multiple occupants who may be unfamiliar with escape routes.
What is a Grade A fire alarm system in an HMO, and when is it required?
A Grade A fire alarm system in an HMO is a comprehensive detection setup that includes a central control panel connected to various detection devices throughout the property. You would need a Grade A fire alarm system in an HMO with more than three floors or where any floor exceeds 200sqm in area. A Grade A fire alarm system in an HMO must be installed in communal areas of these larger properties, providing category LD2 coverage (all circulation spaces and high-risk areas). The system components must be manufactured to BS EN 54 standards, with installation following BS 5839 Part 1 guidelines. A Grade A fire alarm system in an HMO offers enhanced monitoring capabilities and reliability for larger shared accommodations.
Do I need a fire alarm in an HMO?
Yes, you absolutely need a fire alarm in an HMO – it’s a legal requirement for all houses of multiple occupation. The specific type of fire alarm in an HMO that you need depends on your property’s size and configuration. At a minimum, you’ll need interlinked smoke detectors covering escape routes, with additional detectors in high-risk areas and potentially in all rooms for larger properties. Failure to install an appropriate fire alarm in an HMO can result in significant penalties, including fines and prohibition notices that prevent you from renting your property.
Is a fire risk assessment a legal requirement for HMOs?
Yes, a fire risk assessment is a legal requirement for HMO properties under the Regulatory Reform (Fire Safety) Order 2005. You must ensure that a fire risk assessment is completed for HMO compliance as it is a legal requirement. This assessment should be conducted by a competent person who can identify specific hazards in your property. The fire risk assessment is a legal requirement for HMO owners to protect tenants and demonstrate due diligence to authorities. It must be reviewed regularly and updated whenever significant changes occur to the property or occupancy. The assessment should identify potential fire hazards, evaluate who might be at risk, and determine what fire safety measures are needed to achieve compliance.
Follow our fire safety top tips for Chinese New Year: candles and fireworks are often used to celebrate Chinese New Year, as well as lanterns with naked flames. There is, therefore, an element of fire risk in these festivities – stocking up on fire safety products such as burns kits, fire blankets and extinguishers should be part of any event preparation.
Two children celebrating Chinese New Year
In 2024, The Chinese New Year will begin on February 10th and will be the year of the Dragon. This sixteen day long traditional Chinese holiday is recognised worldwide by many people across Asia, and increasingly in the Western world, along with festivals and celebrations to mark the Lunar New Year.
Following our top tips for celebrating will ensure that everyone can enjoy this tradition safely.
Fire Safety Top Tips for Chinese New Year
Whether organising a large event with fireworks and flames, or a small home gathering with sparklers and candles, Chinese New Year celebrations come with a fire risk. We have put together top tips for fire safety to help you make your event a safe and happy occasion.
1. Before your event you will need to carry out a fire risk assessment. This free assessment form will help you identify your fire risks and document your actions to reduce these risks. As the organiser of a public event, you have a legal duty to complete a fire risk assessment.
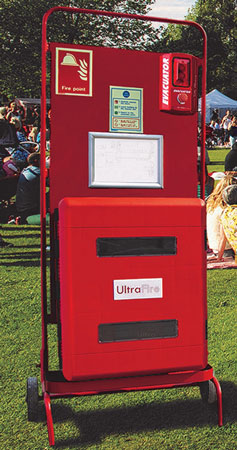
Events marking Chinese New Year should have a suitable site stand
2. Consider how you will raise the alarm in the event of a fire. If you celebrate at home, do you have heat and smoke alarms fitted? When planning a public event, consider using site alarms or a rotary bell and having site stands with all your fire safety and first aid equipment at strategic places.
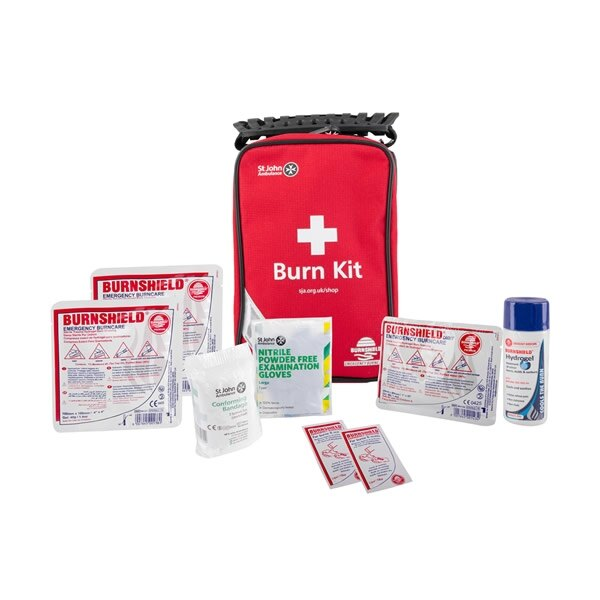
3. Prepare for any activities involving flames with adequate supplies of fire safety equipment. We recommend having fire blankets, water mist fire extinguishers, and a burns kit on hand for any eventuality. Our water mist fire extinguishers are non-toxic. This makes them particularly suitable for events with large numbers of spectators, or where children and animals may be present. Water mist extinguishers are environmentally friendly and leave no residue when discharged.
4. Even for an outdoor event like Chinese New Year, pathways should be kept clear of debris to ensure that people can move to a place of safety in a fire. Where crowds are expected, fire assembly points and exit routes should be clearly signposted.
Happy Chinese New Year!
Safelincs would like to take this opportunity to wish everyone celebrating the Chinese New Year good health and happiness.
Have a Burn Kit on Hand at any Chinese New Year Celebration
Interlinked smoke alarms are becoming more and more popular as they quickly alert you to the event of a fire across larger houses, where there is a risk that you might not hear an alarm going off in the kitchen when you are, for example, in a bedroom upstairs.
Whether connected to each other with wire or wirelessly interlinked through radio frequency, interlinked smoke alarms allow you to connect multiple units – including different types of detectors – which will all sound at the same time when a single alarm detects a potential fire. The heat alarm in the kitchen, the ionisation alarm in your home office, and the specialist strobe and vibration alarm in your elderly parents’ bedroom, for example, will all go off at the same time, if just one alarm is triggered by fire.
Most of us are familiar with the test button on smoke alarms which allows residents to test their alarms regularly, to ensure the components are working and the power supply, whether battery or mains power, is working. On top of this, however, many alarms have a “hush” button which allows you to silence an alarm that has gone off, for example, due to burnt toast.
So how do hush buttons work when you have several interlinked alarms?
It’s easy to assume that, as they are all connected, hushing one alarm will silence all of them, but it is equally logical that only the unit on which you pressed the hush button should be silenced – after all, you don’t want people to assume it was a false alarm if there really is a fire raging downstairs.
Interestingly, not all interconnecting smoke alarms hush in the same way. Here is an overview explaining the different approaches employed by the three main smoke alarm manufacturers in the UK.
For Kidde smoke alarms, the originating alarm (the unit which detected a potential fire and triggered all of your units) will have its warning light flash faster than all other units while the alarm is sounding – enabling you to identify the smoke alarm that caused the alarm. Pressing the hush button on ANY unit will silence the ENTIRE network.
If you have interlinking Ei Electronics smoke alarms, only the originating unit’s hush button will be able to silence the ENTIRE network. The other units in the circuit can be individually silenced. To identify the originating unit you need to look for the alarm whose warning light is flashing every second, compared to every 40 or so seconds on the other units.
FireAngel smoke alarms, however, deploy an improved silencing protocol. If you hush the originating smoke alarm then, as with the other brands, ALL connected units will be silenced. However, if you hush any other unit, the ORIGINATING alarm will continue to sound but ALL OTHER units will be silenced. This allows you to quickly identify the originating alarm which is very helpful both in case of a false alarm or a real emergency.
If you require support selecting the best smoke alarm system for yourself, please contact the friendly Safelincs support team either by emailing support@safelincs.co.uk or by ringing 0800 612 6537


 For
For 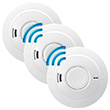 If you have interlinking